

How to Create a DIY Study Planner (and Actually Stick to It!)
University life is a hot mess—assignments pile up, deadlines sneak attack, and somehow, exams appear out of nowhere like jump scares in a horror movie.
If you constantly find yourself cramming at 3 AM, fueled by coffee, energy drinks, massive anxiety attacks, and regret, it’s time to embrace the magical powers of a DIY study planner.
A good study planner won’t just organize your academic chaos; it’ll also reduce stress, boost productivity, and keep you from accidentally forgetting a major deadline (because let’s be real, you’re one missed deadline away from ending up on academic probation).
So grab your stationery (or your phone) and let’s design a study plan that works for you!
Why Bother with a Study Planner? (A Love Letter to Organization)
If you think study planners are just extra work, think again! Here’s why they’re absolute lifesavers:
✅ Keeps You on Track – No more scrambling to remember what’s due when. A planner helps you visualize your workload. It’s like having your whole mind on paper and seeing everything clearly without being distracted by all the voices and thoughts in your head.
✅ Prevents Last-Minute Panic – Say goodbye to all-nighters (unless they’re for Netflix, in which case… fair enough…but let’s make that a once-in-a-while thing). Having everything planned out means you won’t have to stay up for 48 hours straight trying to complete an assignment that should have been done five days ago.
✅ Balances Study & Life – Helps you schedule study sessions and make time for socializing, gym, or napping (very important). No more feeling overwhelmed and wondering how to balance everything.
✅ Boosts Motivation – Checking off tasks gives you that chef’s kiss feeling of accomplishment. It literally feels like you’re winning an award for curing cancer with every check mark.
✅ Reduces Stress – Knowing what to study and when makes life so much easier. Your future self will thank you.
Step 1: Choose Your Planner Format (Paper or Digital?)
Before you start, decide whether you’re a pen-and-paper person or a digital planner fan. Each has its pros and cons:
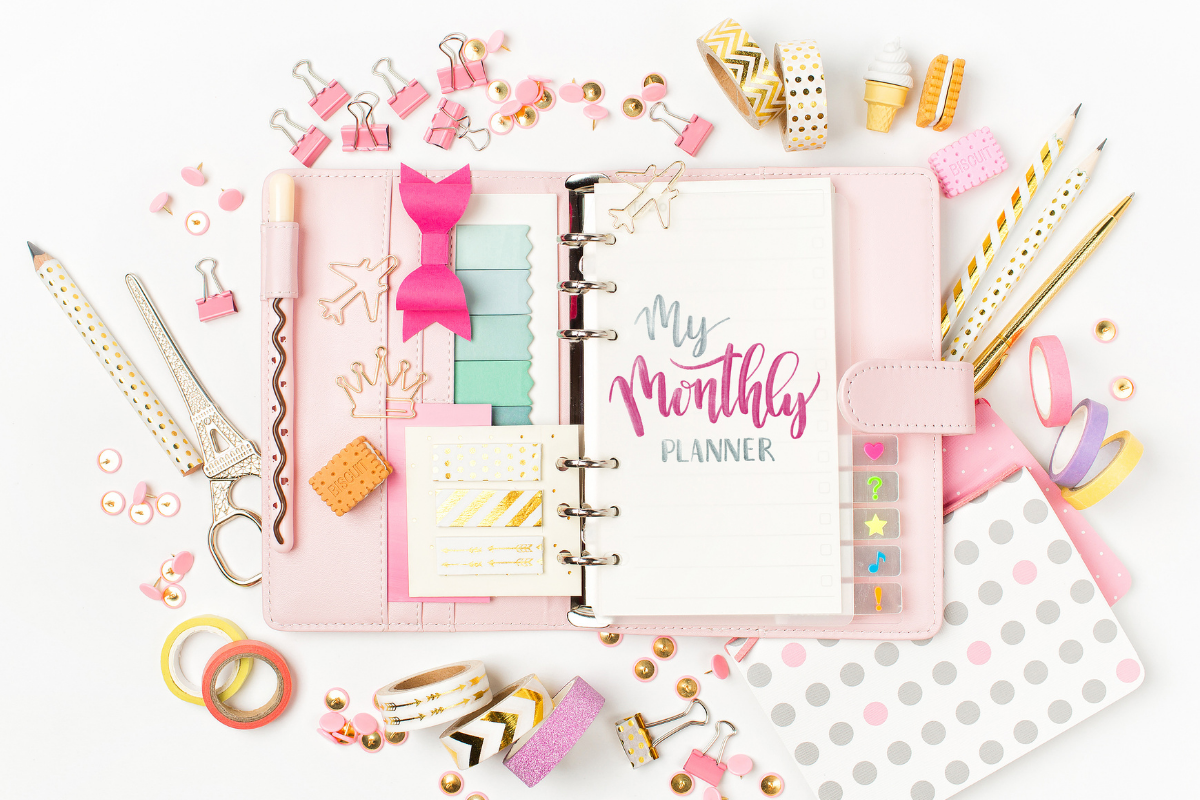
📝 Paper Planners (For the Aesthetic Stationery Lovers)
Think of bullet journals, printable templates, or physical planners. This could also just be an old notebook that you design yourself and turn into an aesthetic planner.
- Great for those who love writing things down physically (and own way too many highlighters).
- Writing things down physically is a great way to memorize and remember tasks.
- Feels satisfying to physically cross off tasks.
- Downside: Paper planners can’t set alarms/notifications to remind you of deadlines.
✨ Paper Planners to Check Out:
- Classic planners (Moleskine, Erin Condren, or any cute notebook)
- DIY printable study planners
There are tons of free templates online: Check Pinterest for free templates or design a super cute one yourself on Canva and if you want a more advanced, ready-to-use template, you can download one on Etsy!)
- Bullet journals (aesthetic and customizable)
Get a notebook and some colorful pens, highlighters, and markers on Amazon to start a bullet journal.
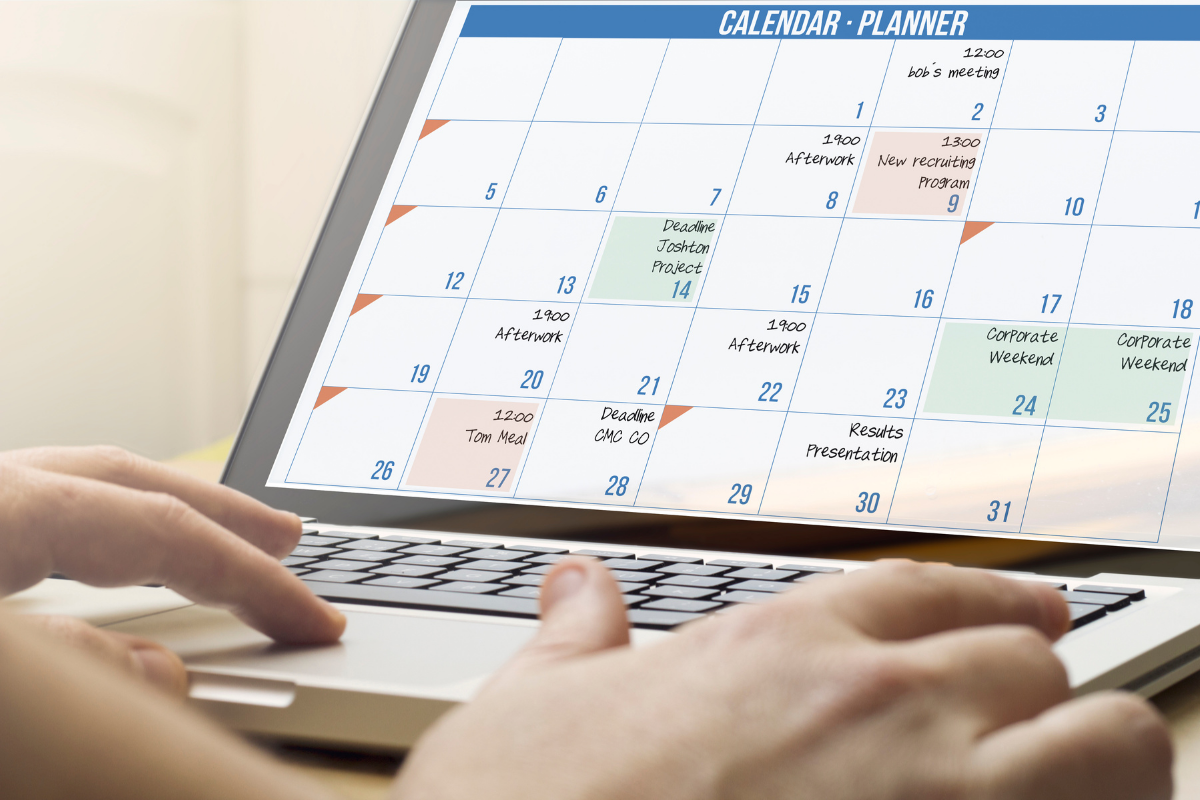
💻 Digital Planners (For the Tech-Savvy & Forgetful Students)
These are planners that live on your phone and laptop so you never have to worry about losing them at the library or at your mum’s house when you go home during breaks.
- Great for students who prefer typing over handwriting.
- Portable and easy to edit without making a mess.
- It’s on your phone, so you can literally have it with you EVERYWHERE.
- Downside: Screen fatigue and the temptation to “accidentally” scroll TikTok.
✨ Digital Planners to Check Out:
- Google Calendar: I know this is literally just a calendar, but you can create events, schedule daily, weekly, or monthly tasks, and set alarms and reminders so you never forget anything. It’s pretty easy to use, and it offers a color-coded scheduling system, so you still get the aesthetics.
- Notion: More advanced than Google Calendar or a simple digital or paper planner. Notion is used by everybody, from uni students to office workers and CEOs. You can create task lists, study plans, schedule events, set reminders, and a lot more. You can also share links to your schedules or tasks to your group members for group projects and assignments. Plus you can use Notion to take notes in class or during your study hours.
- Todoist: Easier to use than Notion, and great for task management and reminders.
- MyStudyLife: Built specifically for students with assignments, exams, and class tracking. Basically a custom one-stop tool for all your study needs. And it’s a lot simpler to use than other platforms because everything about it is made with students in mind. So unlike Notion, you don’t need to search for study plan templates or create one yourself, you’ll find one ready to use here.
Step 2: Build Your DIY Study Planner (Let’s Get Organized!)
Now that you’ve picked your format (whether you’ve got a planner from Canva or Amazon or downloaded one from Pinterest or Etsy), it’s time to build your ultimate study planner!
1. Customize Your Template
If you’re using a premade template from Canva, Etsy, or Pinterest, then all you have to do is change the colours, fonts, and graphics and move the sections around however you like.
You can easily do this on Canva for free (although I suggest getting Canva Pro ‘cause the templates are much better and you get access to really cool features like the background remover).
If you’re using a notebook, bullet journal, or physical planner, then grab your pens, rulers, highlighters, and just go to town on it. Draft out the sections you want for your planner, e.g. to-do lists, timetables, key dates and events, and anything else you want your planner to have.
Again, Canva has A LOT of templates. So even if you’re using a physical planner, you can search up study planner templates on Canva to get ideas for designing your own physical planner.
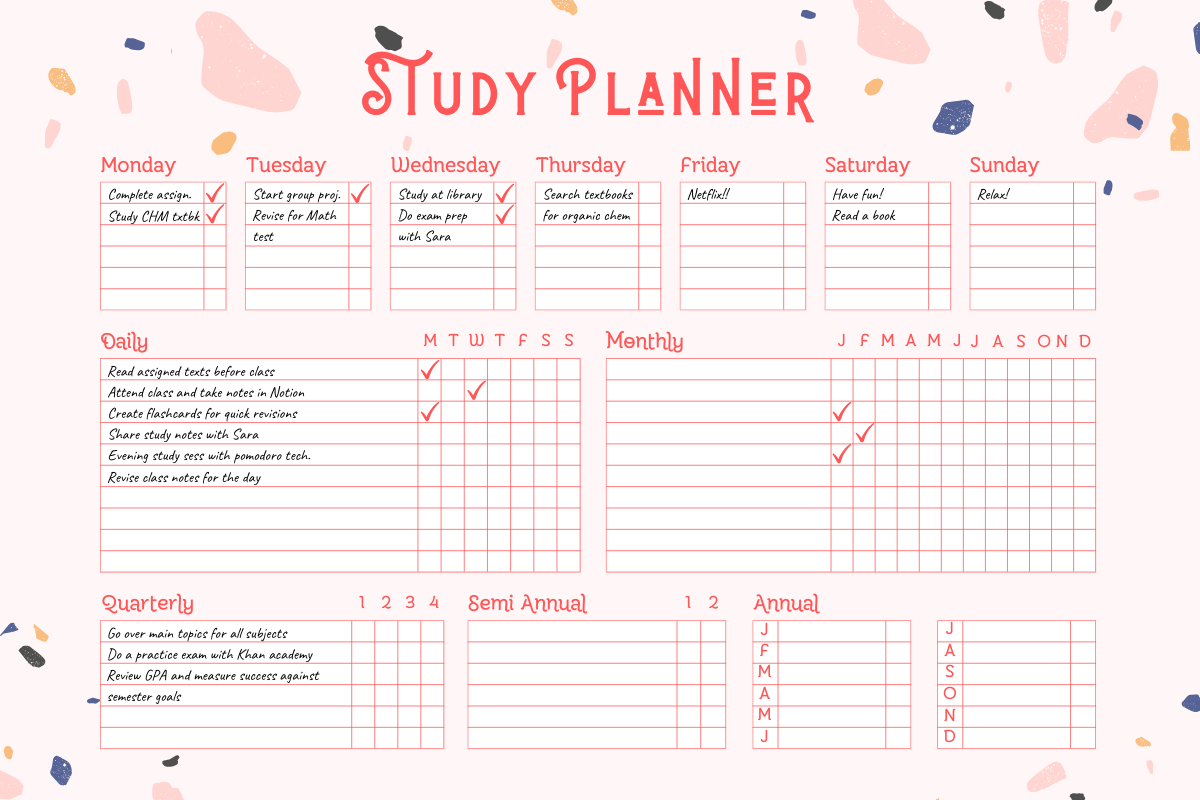
2. Start With an Overview of Your Semester
Before diving into daily schedules, write down all your key academic dates (if you know them):
✅ Exam dates
✅ Assignment deadlines
✅ Group projects
✅ Important events (because life isn’t just about studying!)
Pro Tip: Use color-coding to differentiate subjects. Blue for exams, red for assignments, green for study sessions—you get the idea!
3. Create a Weekly Study Schedule
A good study plan includes:
✔ Your class timetable (so you don’t accidentally schedule study sessions during lectures—awkward)
✔ Study blocks for each subject (aim for 30-90 minute sessions)
✔ Breaks (because burnout is real…schedule your breaks to be as long or short as YOU need, because everyone’s brain works at different paces)
✔ Time for revisions and catching up
Pro Tip: Use the Pomodoro Technique—study for 25 minutes, and take a 5-minute break. Repeat 4 times, then take a longer break. Your brain will love you for it!
Again, you can adjust this to fit you e.g. study for 50 minutes, take a 10-minute break, repeat twice, then take a 30-minute break. Figure out what works best for YOU.
4. Set Daily Study Goals
Each study session should have a clear goal:
❌ “Study chemistry” (too vague!)
✅ “Review Chapter 4: Organic Chemistry & complete 5 practice questions” (specific and doable!)
Pro Tip: Prioritize harder tasks first (a.k.a. “Eat the Frog” method). Get the difficult subjects out of the way when your brain is fresh!
5. Track Your Progress & Adjust as Needed
Life happens, and sometimes you won’t stick to your plan perfectly (and that’s okay!).
Keep track of:
✔ What you accomplished each day
✔ What needs to be rescheduled
✔ Any subjects you’re struggling with and need to revisit
Step 3: Actually Stick to Your Study Plan (No More Ghosting Your Goals)
A study planner only works if you use it. Here’s how to stay consistent:
✔ Make It a Habit – Check your planner daily, just like you check social media (or that group chat with 300 unread messages).
✔ Reward Yourself – Finished your study session? Treat yourself to a snack, a walk, or an episode of your favorite show.
✔ Be Flexible – If you miss a study session, don’t stress—just reschedule and keep going.
✔ Find a Study Buddy – Accountability helps! Plan study sessions with friends to keep each other on track.
✔ Limit Distractions – Put your phone on Do Not Disturb and use focus apps like Forest or Cold Turkey to avoid distractions.
Your Study Plan = Your Academic Superpower
A DIY study planner is like a personal assistant for your brain—it helps you stay organized, stress less, and (hopefully) ace your exams without last-minute cramming.
Whether you prefer bullet journals, apps, or a mix of both, the key is to find a system that works for YOU.
Now go forth, create your planner, and start crushing your study goals! Your future self (the one who isn’t pulling an all-nighter before finals) will be so grateful.
What’s your favorite way to organize your studies? Let me know in the comments!
Wishing you peace and funds,
Dee


